Yesterday, Veeam released the Community Preview of the Hardened Repository ISO (Build 0.1.15).
The ISO respectively the project was presented at the Veeam ON in Fort Lauderdale this year. I have been eagerly awaiting this installation ISO since the information was published.
What is this Managed Hardened Repository ISO by Veeam?
The Managed Hardened Repository ISO is an installation ISO to correctly install a Veeam Hardened Repository with Veeam’s best practices and a full hardening.
Inside the installer you have to specify some settings, but everything else is predefined, so that after the guide guided installation you have a DISA STIG hardened repository. The whole thing without any further necessary adjustments.
Benefits of the ISO
- The biggest benefit of the ISO is that you don’t have to make any further customizations or run any scripts (the system is already hardened through the customized installer).
- There is no root user.
- Due to the use of Rocky Linux as the base, you have 10 years of support.
- After the official version is released, you will also receive support from Veeam.
Important!
At the moment this is a technical preview and not intended for productive use.
Requirements
- RedHat supported hardware (for productive deployment physically is recommended, for LAB a VM is also possible) (ISO is Rocky based)
- Same CPU & RAM resources as Linux Repositories
- 2 disks with at least 100GB each
- Only internal storage or direct attached storage with hardware RAID controller with write-back cache are supported
- UEFI must be activated
- Min. Veeam V12.2
Installation of the Hardened Repository
Boot from ISO
Select “Install Hardened Repository (deletes all data)” in Grub –> it deletes all data on the machine

During boot required system/disk requirements getting checked if the are met (for exampe are there 2 disks, each min 100GB?)

GUI Installer
After booting, the GUI installer appears. The displayed options must be set here
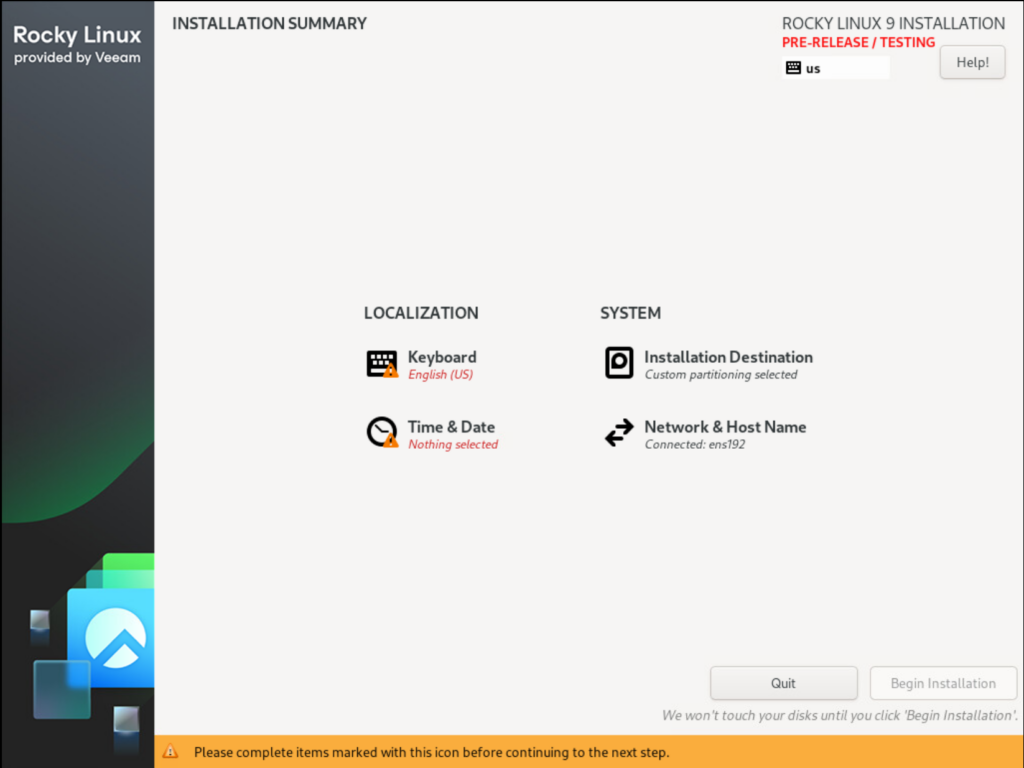
Keyboard Layout
Set the correct keyboard layout after booting –> important for entering the password correctly
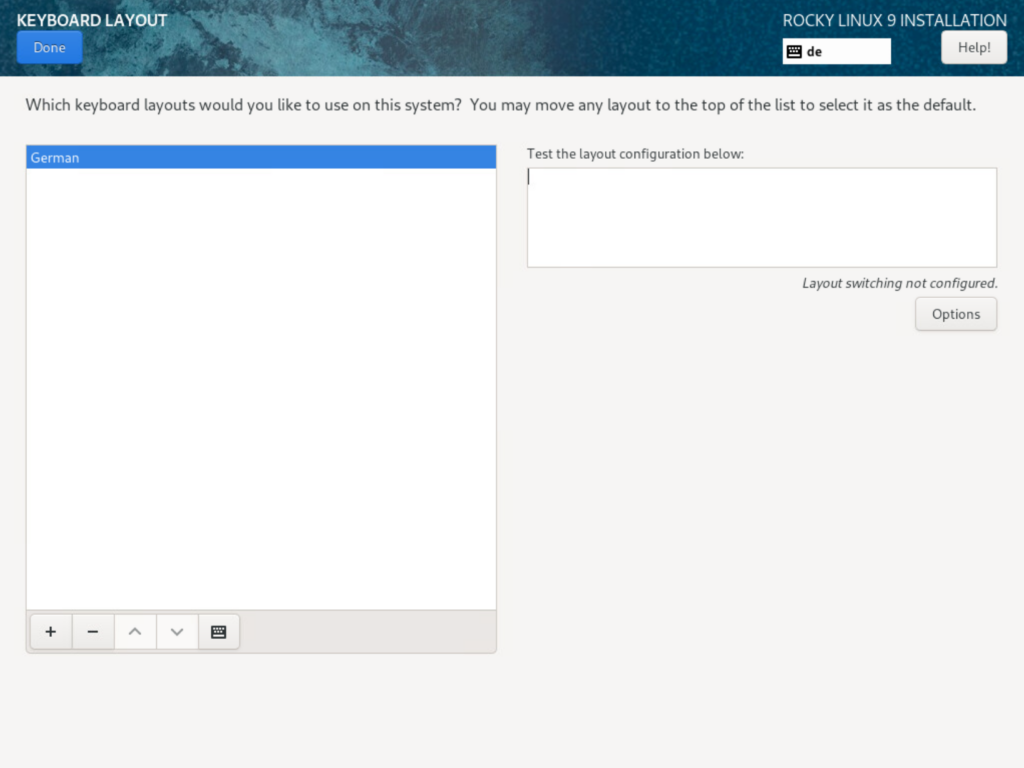
Time &Date
Region, City and NTP servers must be set

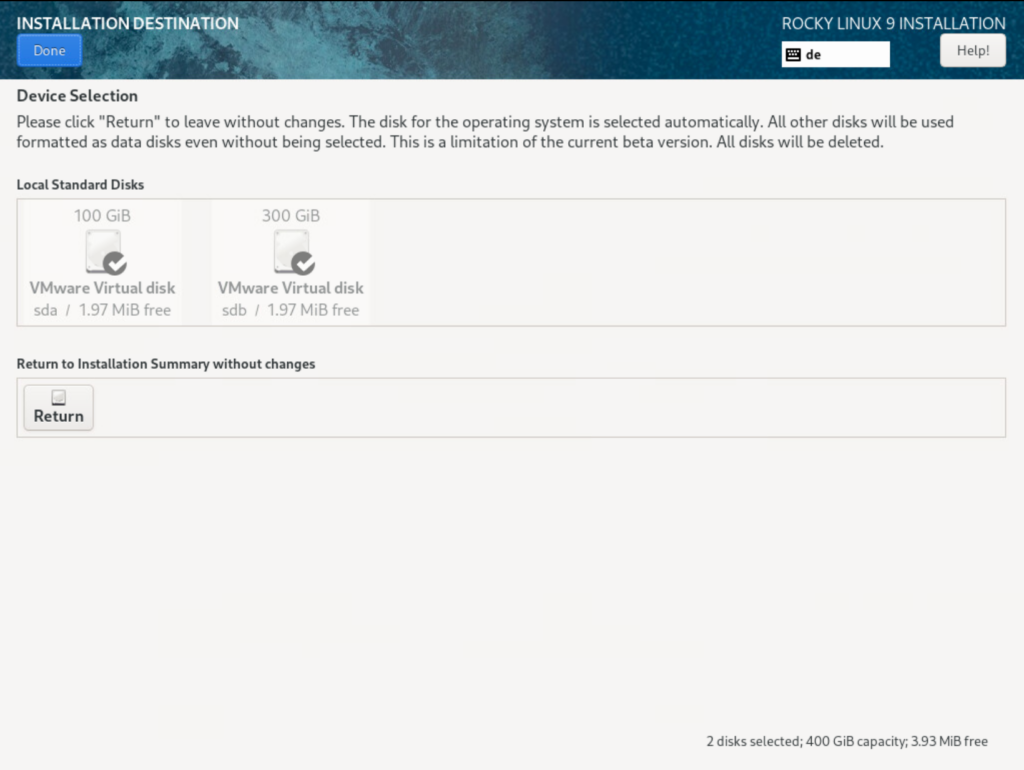
Device
Nothing can be customized in the Device Section. The installer always takes all disks and splits them up as follows:
- smallest disk is the operating system
- All other disks are bundled into one LVM and mounted under /mnt/veeam-repository01
Network
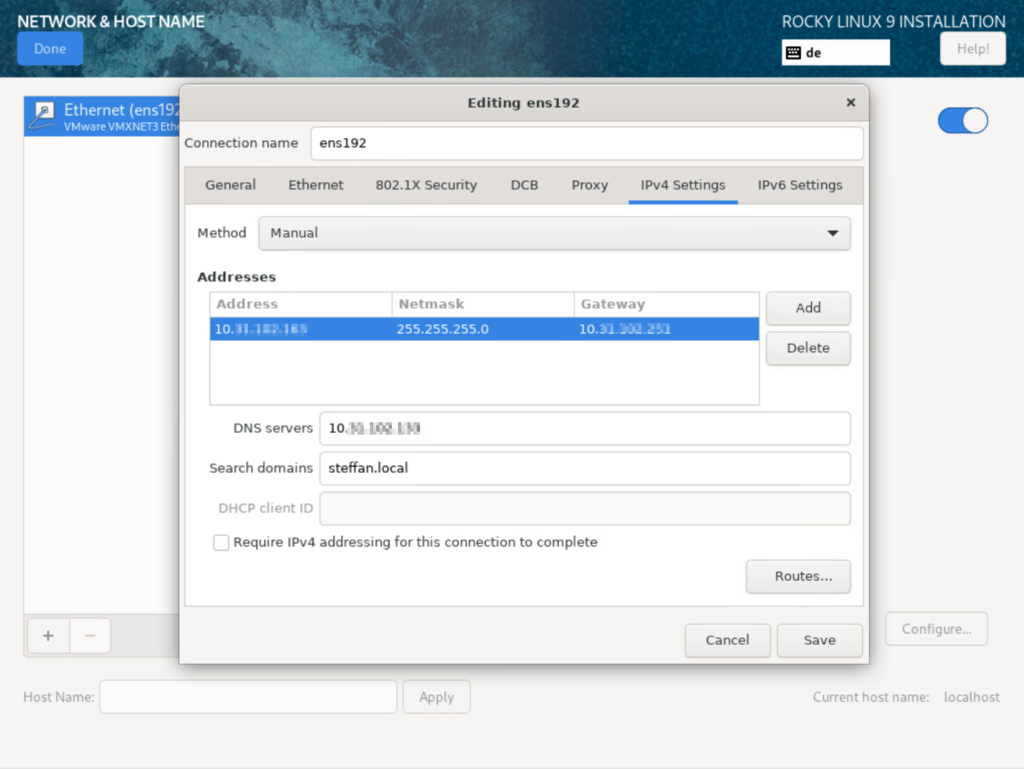
Only one adapter is activated by default; if you want more than one, you must activate them.
Bond should always be configured for reliability if possible (As I am working with a LAB VM here, I have decided not to use it).
Hostname must also be set (don’t forget).
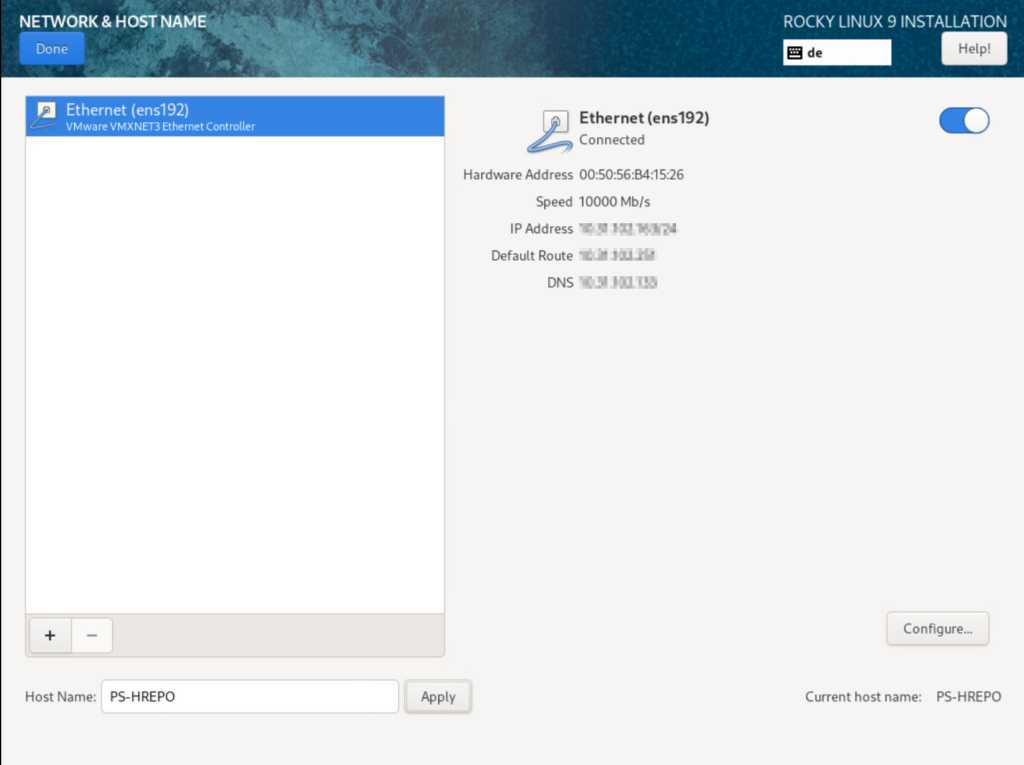
A static IP address, DNS and search domains should be set. –> After confirming, the IP should be accessible/pingable.
Start installation
The installation can be started by clicking on “Begin Installation”

When the installation is complete, you can reboot.

Configuration of the Hardened Repository
Boot
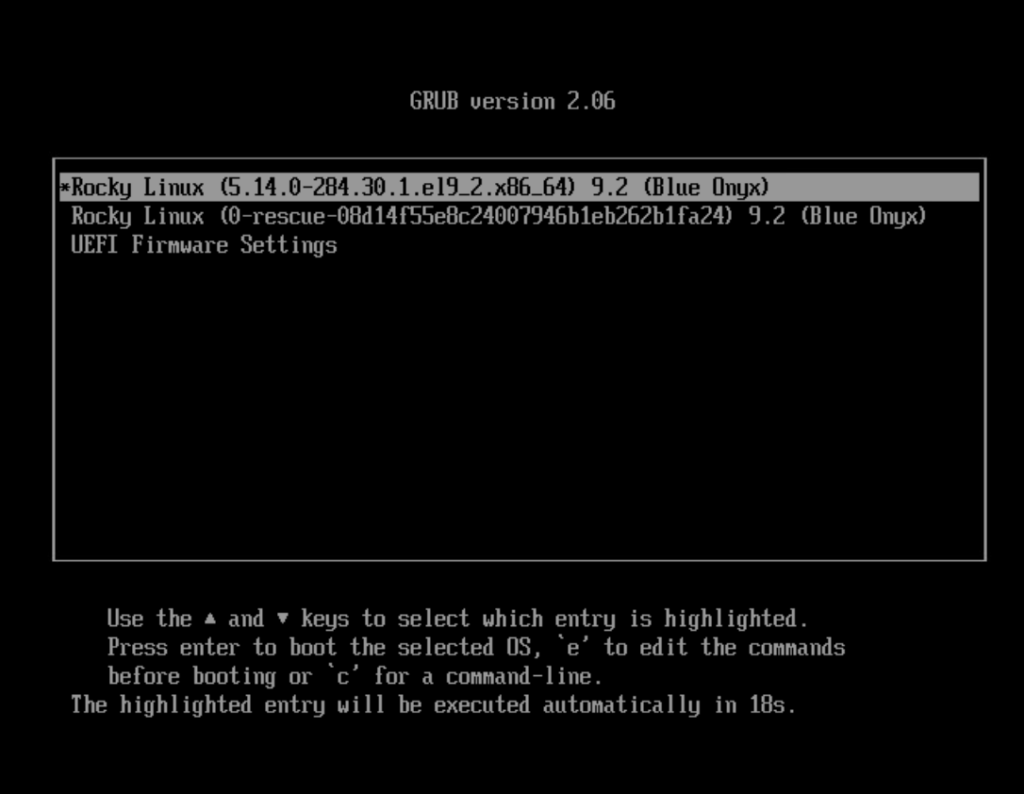
When booting, the Grub bootloader is displayed and the system starts automatically.
First Login
You must log in to the server with the default credentials (User: vhradmin, PW:vhradmin).
The password must be changed directly. The password must match the DISA STIG complexity requirements:
- 1 numeric character
- 1 lower case
- 15 characters
- 1 special character
- Maximum 4 characters of the same character class in a row (e.g. 4 lower case, 4 numbers etc.)
- 24h minimum lifetime of password (that means you can change a password only once per day)

License Agreement
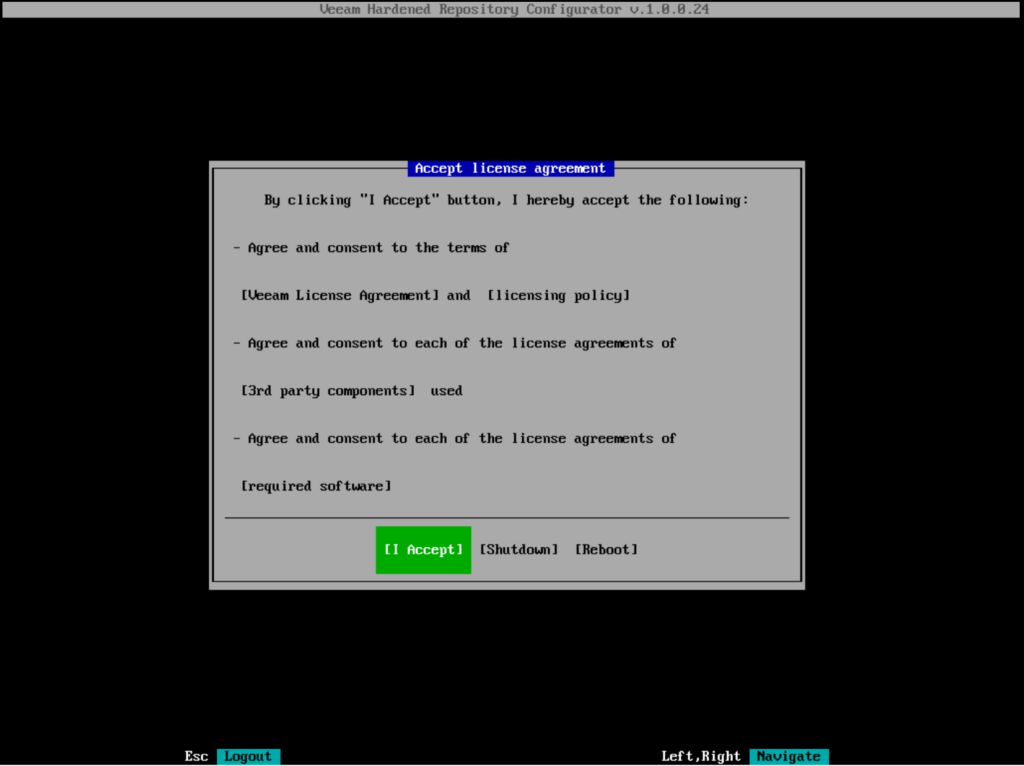
The license agreement must be confirmed (jump down with tab)
Main Menu
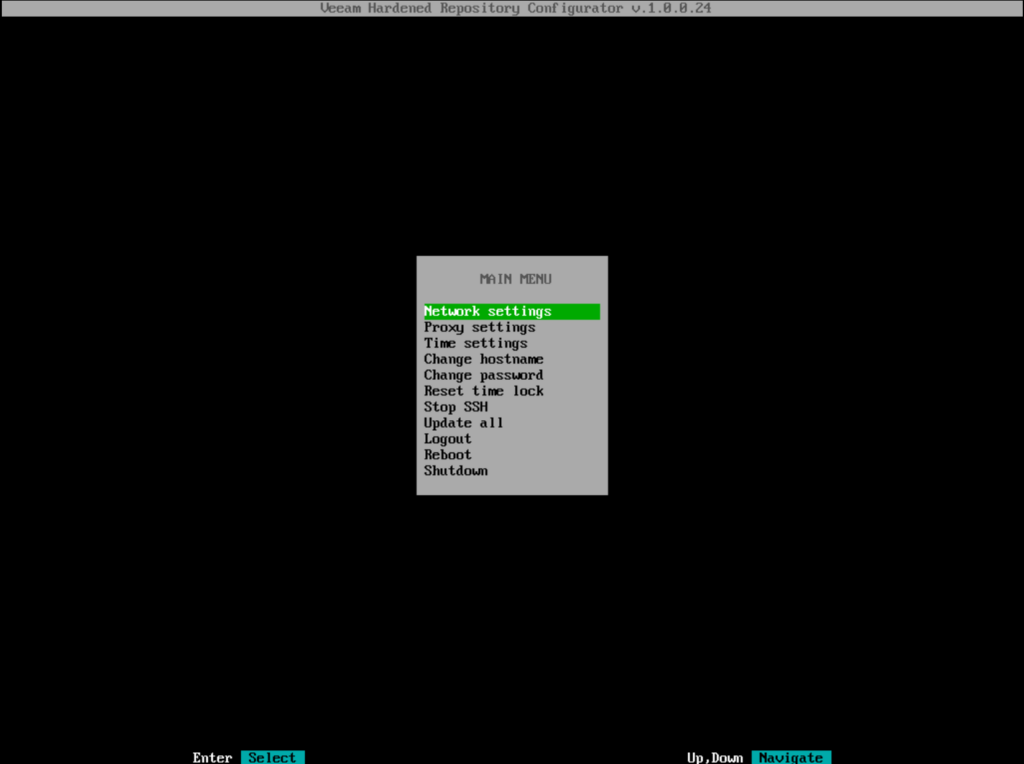
Certain settings can now be modified. But as you can see, there is not much you can adjust.
- Proxy must be adjusted if the server cannot access the Internet directly (Internet connection is required for updates to repository.veeam.com for security updates).
- “Reset time lock” is only used if the machine has been off for a longer period of time and you have a problem with the timeshift (if the time jump is too large)
- The other points should explain themselves
Start SSH
SSH is required to add the machine to Veeam.
To activate SSH, simply navigate to the option and confirm.
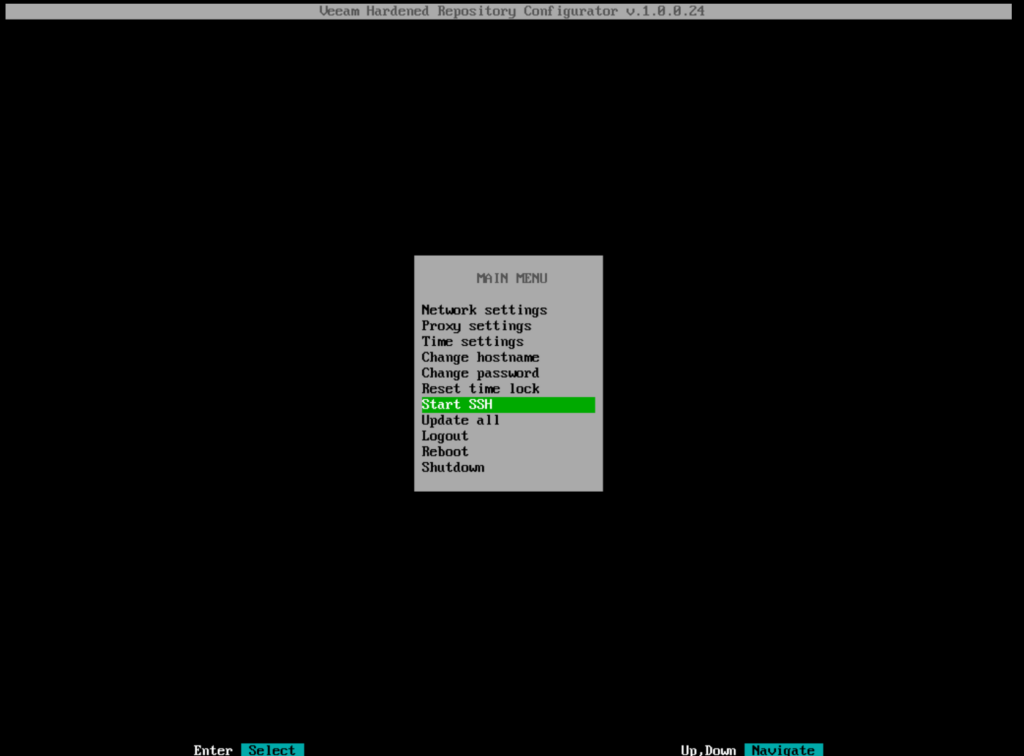
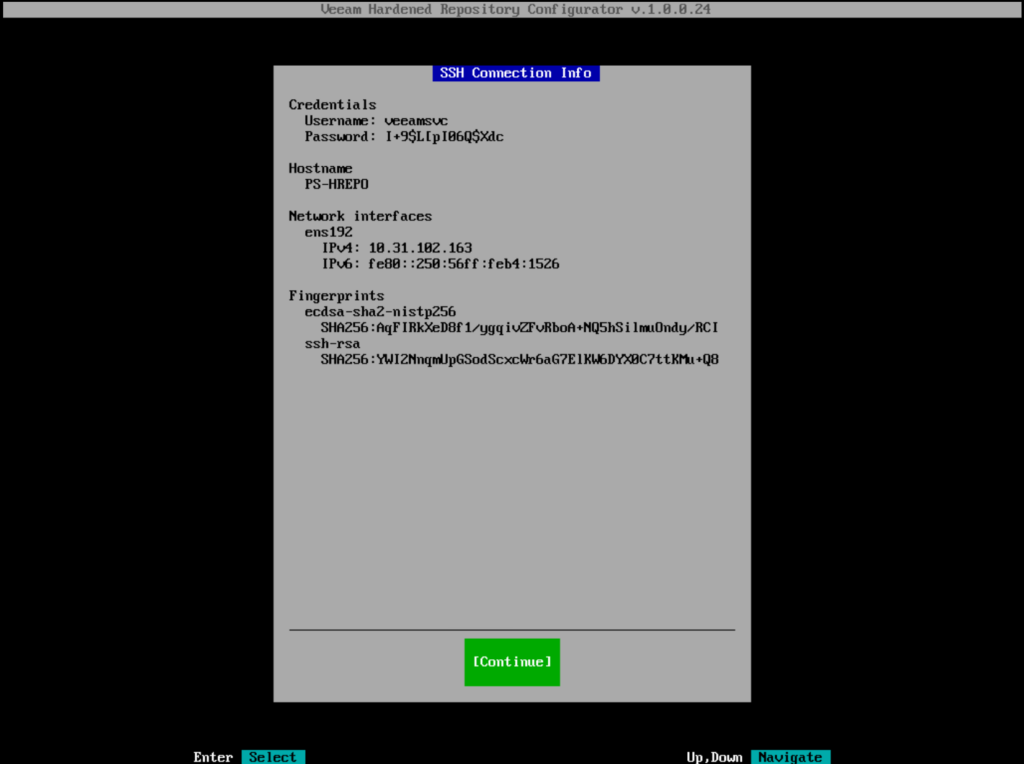
The password is generated automatically according to DISA STIG specifications. If the password is not readable, simply stop SSH and restart, then you will receive a new password.
You have to write down the password temporarily. This is required for adding the server to Veeam.
(SSH must be stopped after the repo has been added to Veeam.)
Click Continue to close the window and start the configuration in Veeam.
Create DNS entry
A DNS entry must be created before adding it to Veeam. Otherwise the Veeam server cannot resolve the DNS name of the repo.
Configuration inside Veeam
In Veeam, the community hardened repository is added in the same way as any other hardened repository.
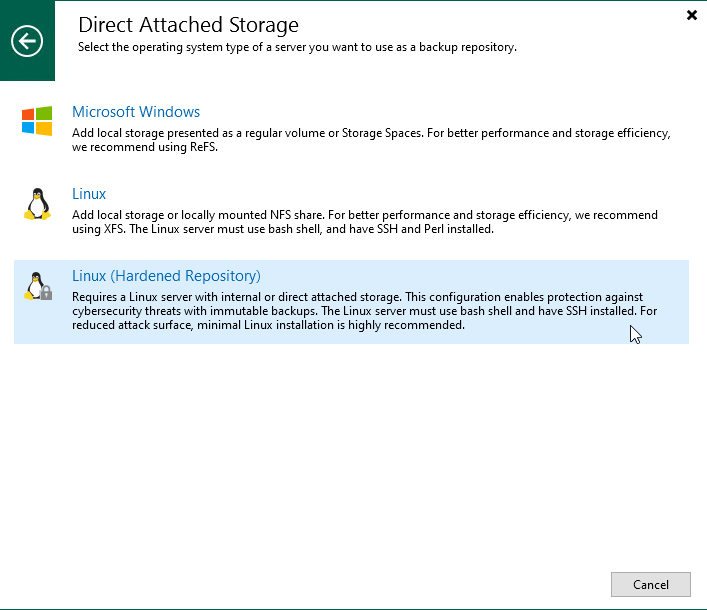
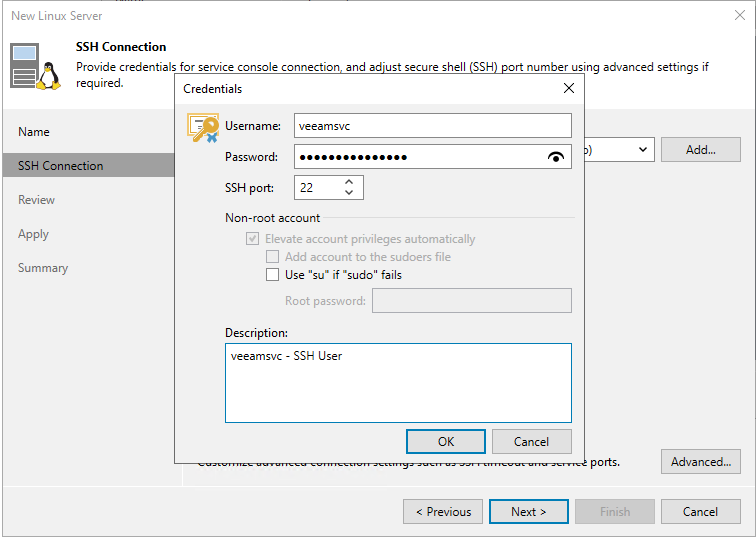
When entering the user, make sure that you enter the username from the SSH prompt “veeamsvc” and not “vhradmin”
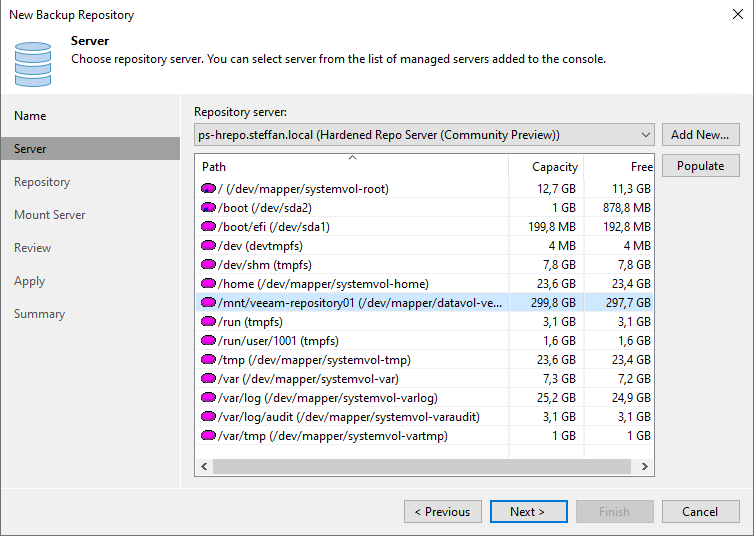
When selecting the path, the LVM is specified with the mount path “/mnt/veeam-repository01”
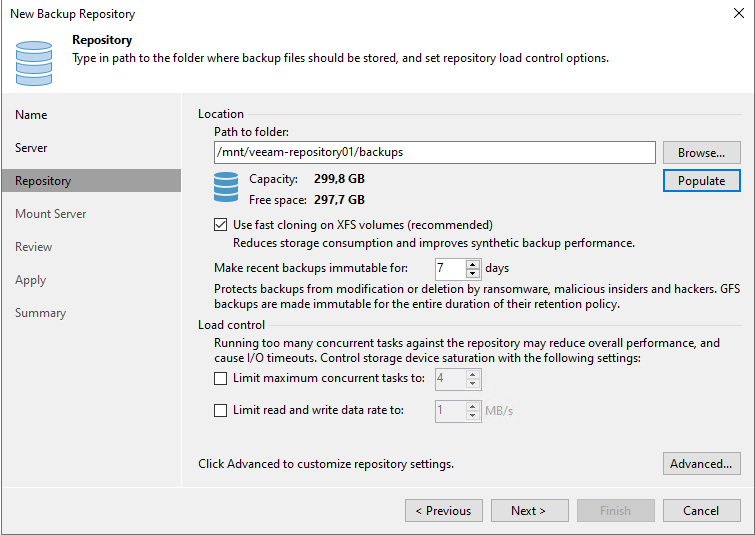
The desired path and immutability must be set here.
And that’s it inside Veeam. The hardened repository has now been added.

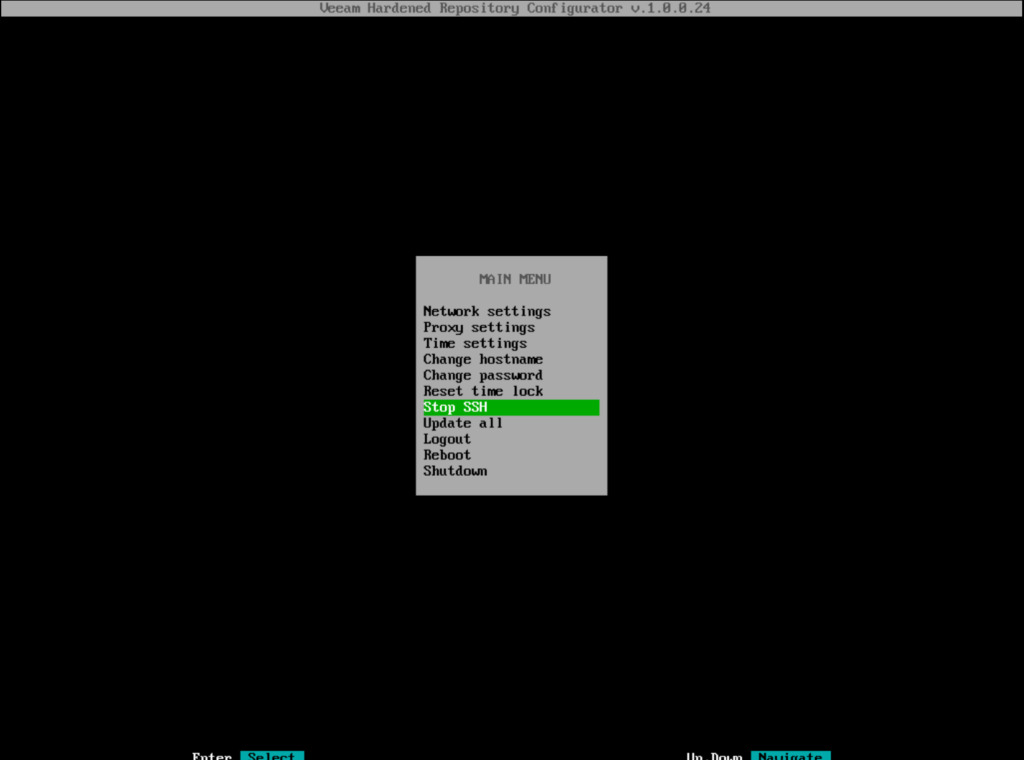
SSH disable
After adding the repository, SSH must be deactivated on the hardened repo server
Finished
The hardened repository is now installed and ready to be tested.
Tests
I have done some tests such as creating backups, restoring or deleting backups and everything worked correctly.
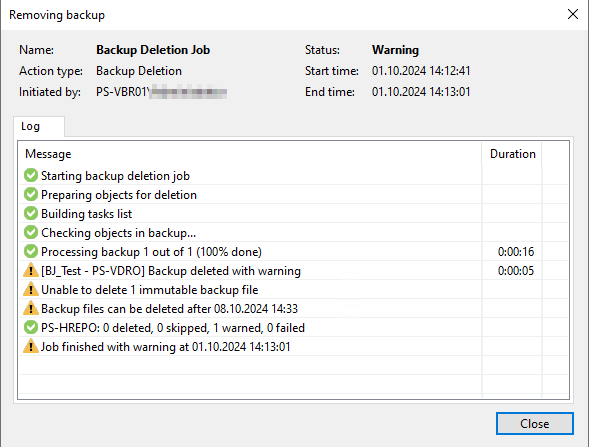
When trying to delete backups, the wanted message appears that the backups can only be deleted after the retention period has expired.
Conclusion
I’m already looking forward to using the ISO in productive environments after the official stable release.
Until that happens, test it diligently in the LAB and report any problems via the R&D forum. Iwill also carry out further tests with hardware systems.
###############################
more
Known issues and limitations
Here are the current known issues and limitation from the Community Preview with build number 0.1.15
####
The following known issues and limitation apply to the Community Preview build only and will be addressed in the final release.
ISO Installer
- Current sudo permissions for the veeamsvc user allow to install additional packages that are signed by a trusted key.
- The Installer does not discard systems with UEFI Secure Boot disabled (this is on purpose not to create barriers for preview testing)
- The Help button does not function. Please use the included manual.
Hardened Repository Configurator Tool
- The License Agreement wizard and files are incomplete.
- Some texts and error messages are not final.
[PREVIEW] Managed Hardened Repository ISO by Veeam – R&D Forums
####